Note: This blog entry is an update of a previous article written about how to install the Jaxon Adminer package on Voyager.
Meanwhile, the new Jaxon DbAdmin package was created, and the database drivers and UI builders were moved to separate packages.
This article describes the installation of these new packages.
The two most popular PHP web applications for database administration are phpMyAdmin and Adminer. Both are standalone applications that need to be installed on a web server.
The Jaxon packages offer another choice, Jaxon DbAdmin, which inserts a database administration tool in a page of an existing PHP web application. This solution relies on Adminer, and will thus offer the same features.
What is Adminer
Adminer (formerly phpMinAdmin) is a full-featured database management tool written in PHP. Conversely to phpMyAdmin, it consist of a single file ready to deploy to the target server. Adminer is available for MySQL, MariaDB, PostgreSQL, SQLite, MS SQL, Oracle, Elasticsearch, MongoDB and others via plugin.
What is Jaxon DbAdmin
Unlike Adminer which is a standalone application, Jaxon DbAdmin is a package which allows the user to integrate the Adminer features into an existing PHP application. They are then available in a page of the application, whose content is updated with ajax requests generated by Jaxon.
As a consequence, the access management features (authentication and security) are removed from the package, which will then rely on those provided by the application it is installed on.
What is Voyager
Sometimes a user may not have a PHP web application available for integrating Jaxon DbAdmin.
He then needs to install a complete application from scratch.
In this case, it is possible to integrate Jaxon DbAdmin in one of the numerous PHP backend administration packages available.
In this article, we have chosen Voyager, because it is free, it is built on the Laravel framework for which a Jaxon plugin exists, and it is built on the Bootstrap 3 CSS framework, which is supported by Jaxon DbAdmin.
Install Laravel and Voyager
Althougth this article describes the installation of Jaxon DbAdmin on Voyager, the main steps are the same for the installation on others environments.
- Install
Jaxonpackages, - Create the page that will display the
Jaxon DbAdmindashboard, - Add a route and a menu entry for this page,
- Configure
Jaxonand its packages, among whichJaxon DbAdmin.
Fisrt, we will install Voyager on the version 9 of Laravel, following its documentation.
composer create-project laravel/laravel voyager 9.x
cd voyager
composer require tcg/voyager
After we have defined the database access parameters in the .env file, we can take the final step of the installation and create an admin account.
php artisan voyager:install
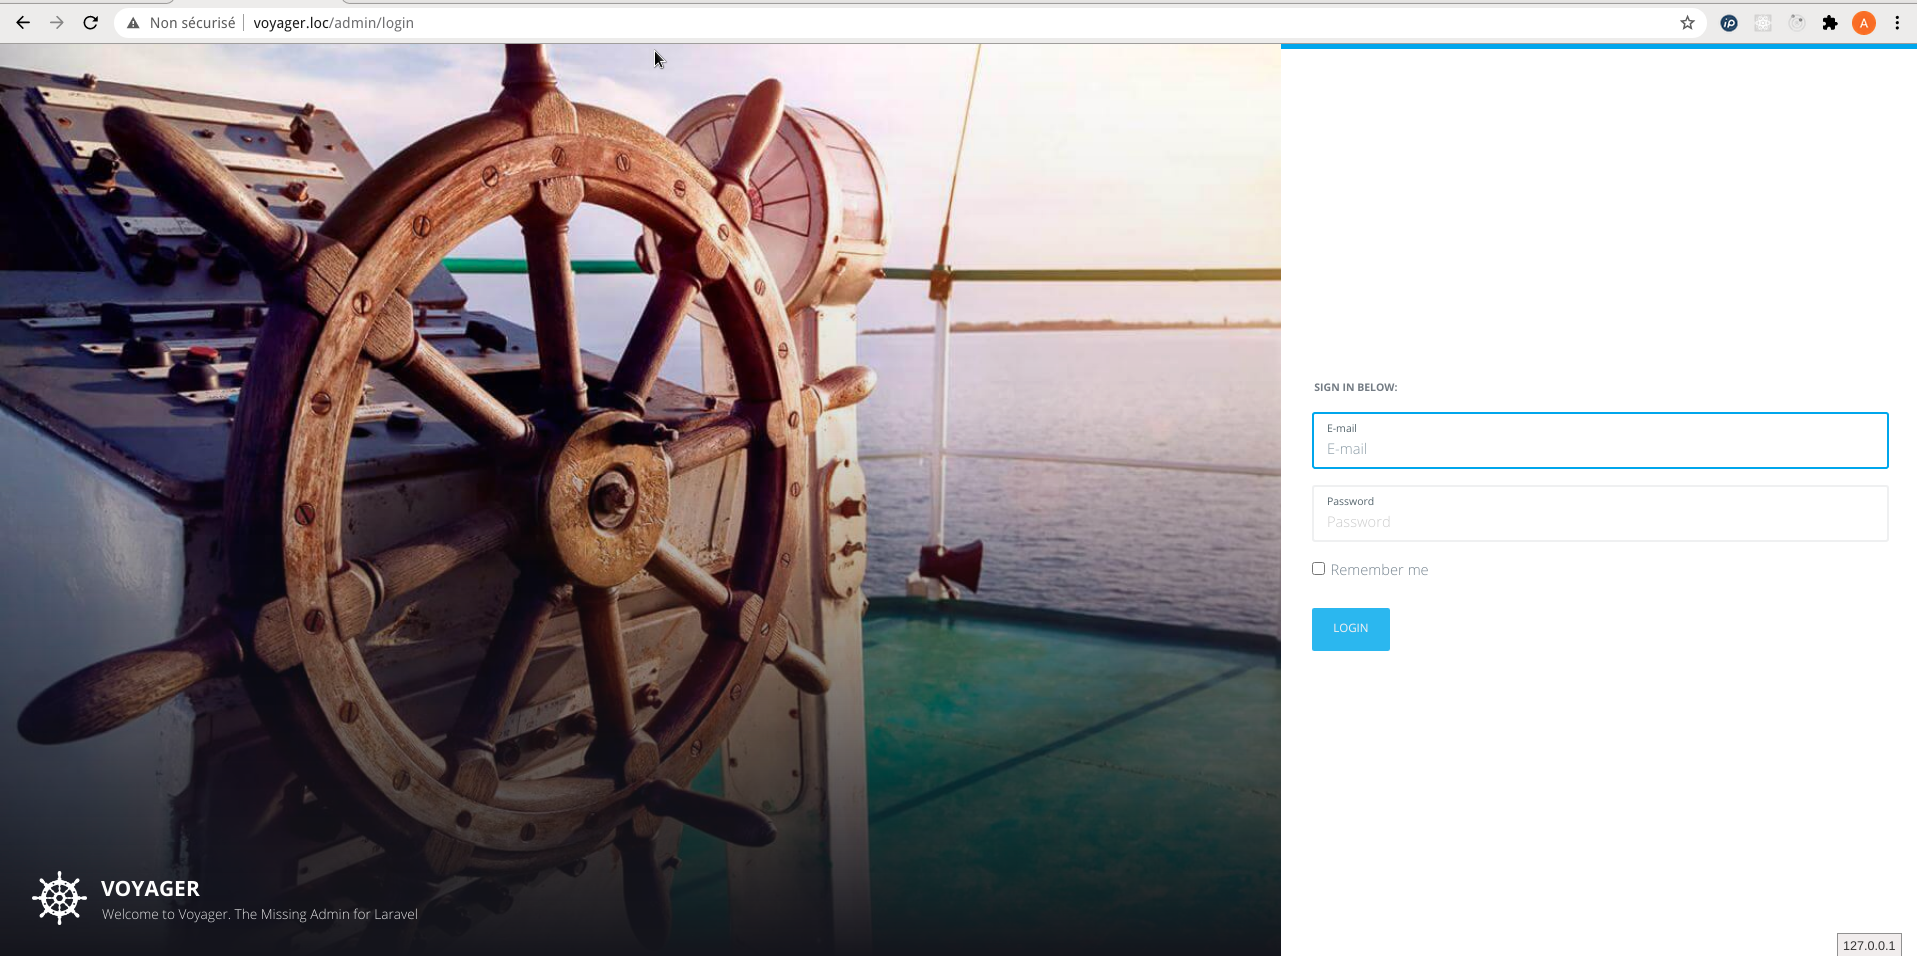
php artisan voyager:admin your@email.com --createWe can now login on Voyager, on the /admin path in the installed application.
Install Jaxon packages
In addition to the lagdo/jaxon-dbadmin package, we need to install the jaxon-php/jaxon-laravel package, for integration with Laravel, the framework Voyager is built with.
For the database drivers, we need to install the lagdo/dbadmin-driver-mysql, lagdo/dbadmin-driver-pgsql or lagdo/dbadmin-driver-sqlite packages, depending on the databases that need to be managed.
Finally, we need to install packages for the UI. At the time this article is published, only the package for Bootstrap is available.
composer require lagdo/jaxon-dbadmin jaxon-php/jaxon-laravel
composer require lagdo/dbadmin-driver-mysql lagdo/dbadmin-driver-pgsql lagdo/dbadmin-driver-sqlite
composer require lagdo/ui-builder-bootstrap
The php artisan route:list | grep jaxon command now prints the following lines, showing that a route exists for Jaxon requests.
| Domain | Method | URI     | Name    | Action                                                     | Middleware
+--------+--------+---------+---------+------------------------------------------------------------+-----------
|        | POST   | jaxon   | jaxon   | Jaxon\Laravel\Http\Controllers\JaxonController@process     | web
Create a page for Jaxon DbAdmin
We are now going to add a Laravel controller, a view and a route that will display the Jaxon DbAdmin page.
The app/Http/Controllers/JaxonController.php controller shows the view, with the HTML, CSS and javascript codes of Jaxon DbAdmin as parameters.
The controller also calls the ready() method of the Jaxon DbAdmin package, to tell Jaxon that the package must be initialized when showing this page.
namespace App\Http\Controllers;

use Jaxon\Laravel\Jaxon;
use Lagdo\DbAdmin\Package as DbAdmin;

class JaxonController extends Controller
{
    public function dbadmin(Jaxon $jaxon)
    {
        // Set the DbAdmin package as ready
        $dbadmin = $jaxon->package(DbAdmin::class);
        $dbadmin->ready();

        // Print the page
        return view('dbadmin', [
            'jaxonCss' => $jaxon->css(),
            'jaxonJs' => $jaxon->js(),
            'jaxonScript' => $jaxon->script(),
            'pageTitle' => "DbAdmin",
            // DbAdmin home
            'pageContent' => $dbadmin->getHtml(),
        ]);
    }
}
The resources/views/dbadmin.blade.php view extends the voyager:master template, and insert the HTML, CSS and javascript codes of Jaxon DbAdmin in the page.
@extends('voyager::master')

@section('page_title', $pageTitle)

@section('css')
    <meta name="csrf-token" content="{{ csrf_token() }}">
{!! $jaxonCss !!}
@stop

@section('page_header')
    <h1 class="page-title"><i class="voyager-data"></i>{{ $pageTitle }}</h1>
@stop

@section('content')
    <div class="page-content container-fluid">
{!! $pageContent !!}
    </div>
@stop

@section('javascript')
    <script>
        $('document').ready(function () {
            $('.toggleswitch').bootstrapToggle();
        });
    </script>
{!! $jaxonJs !!}
{!! $jaxonScript !!}
@stop
The route is defined right after those of Voyager, with the middleware provided by Voyager.
use App\Http\Controllers\JaxonController;

Route::group(['prefix' => 'admin'], function () {
    Voyager::routes();
    Route::get('/dbadmin', JaxonController::class . '@dbadmin')
        ->name('jaxon.dbadmin')->middleware('admin.user');
});
The name of this route will be used in the Menu Builder in Voyager, as described in the next paragraph.
Create a menu entry for DbAdmin in Voyager
Voyager comes with a Menu Builder, which we will now use to create a menu entry for DbAdmin.
It launches from the Tools > Menu Builder menu entry. The Builder button in the admin list item then shows the above page, where the menu entries are defined.
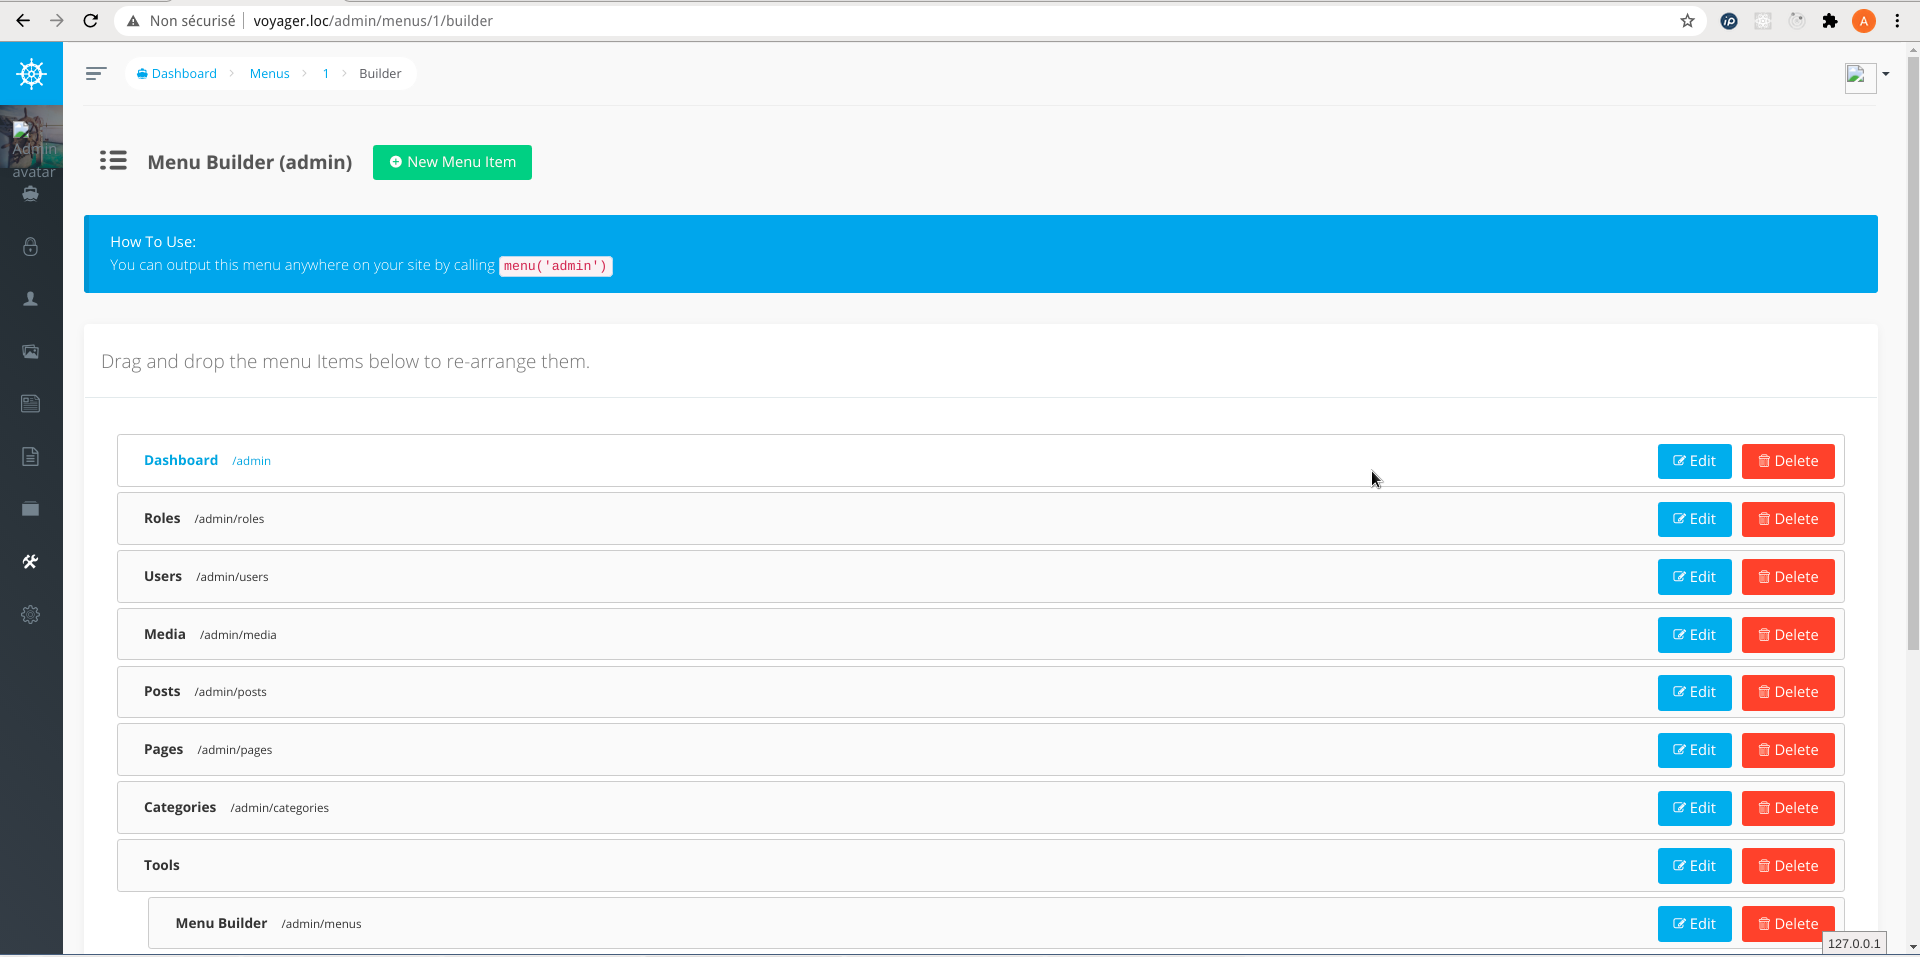
From the New Menu Item button, we now add a new menu entry with the following attributes:
- Title: DbAdmin
- Type: Dynamic Route
- Route: jaxon.dbadmin
- Route parameters: (empty)
- Icon: voyager-data
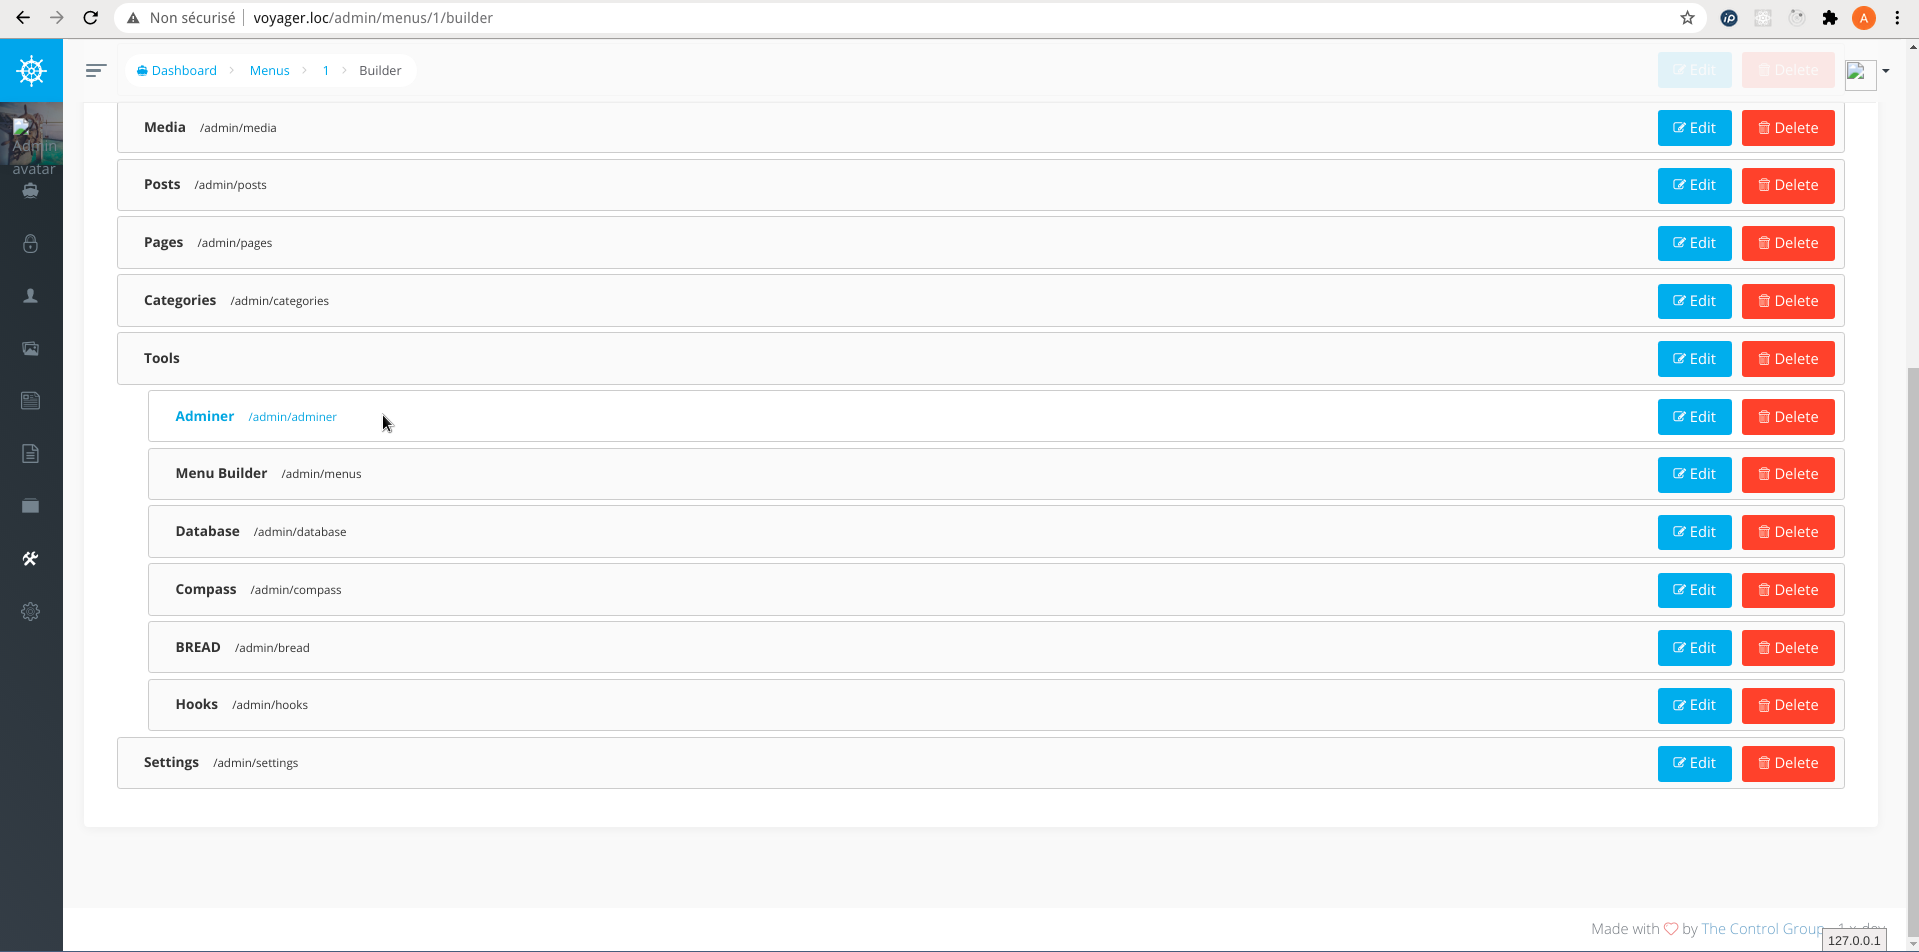
We can then move the menu entry anywhere we want, for example under the Tools section.
After reloading the Menu Builder page, the /admin/dbadmin link now appears in the DbAdmin menu entry.
Jaxon configuration
The config\jaxon.php file defines the configuration of the Jaxon library, and all its plugins and packages.
return [
    'app' => [
        'packages' => [
            Lagdo\DbAdmin\Package::class => [
                'template' => 'bootstrap3',
                'servers' => [
                    'local' => [
                        'name' => 'Local MySQL',
                        'driver' => 'mysql',
                        'host' => env('DB_HOST'),
                        'port' => env('DB_PORT'),
                        'username' => env('DB_USERNAME'),
                        'password' => env('DB_PASSWORD'),
                    ],
                ],
                'default' => 'local',
            ],
        ],
    ],
    'lib' => [
        'core' => [
            'language' => 'en',
            'encoding' => 'UTF-8',
            'request' => [
                'csrf_meta' => 'csrf-token',
            ],
            'prefix' => [
                'class' => '',
            ],
            'debug' => [
                'on' => false,
                'verbose' => false,
            ],
            'error' => [
                'handle' => false,
            ],
        ],
        'js' => [
            'lib' => [
                // 'uri' => '/jaxon/lib',
            ],
            'app' => [
                // 'uri' => '',
                // 'dir' => '',
                'export' => false,
                'minify' => false,
            ],
        ],
        'dialogs' => [
            'default' => [
                'modal' => 'bootstrap',
                'message' => 'noty',
                'question' => 'noty',
            ],
            'toastr' => [
                'options' => [
                    'closeButton' => true,
                    'positionClass' => 'toast-top-center'
                ],
            ],
            'assets' => [
                'include' => [
                    'all' => true,
                ],
            ],
        ],
    ],
];
The lib.core.request.csrf_meta option adds Laravel CSRF protection on Jaxon requests.
The lib.dialogs section defines the parameters of the jaxon-dialogs package.
The servers option in the app.packages.Lagdo\DbAdmin\Package section defines the list of servers to be managed.
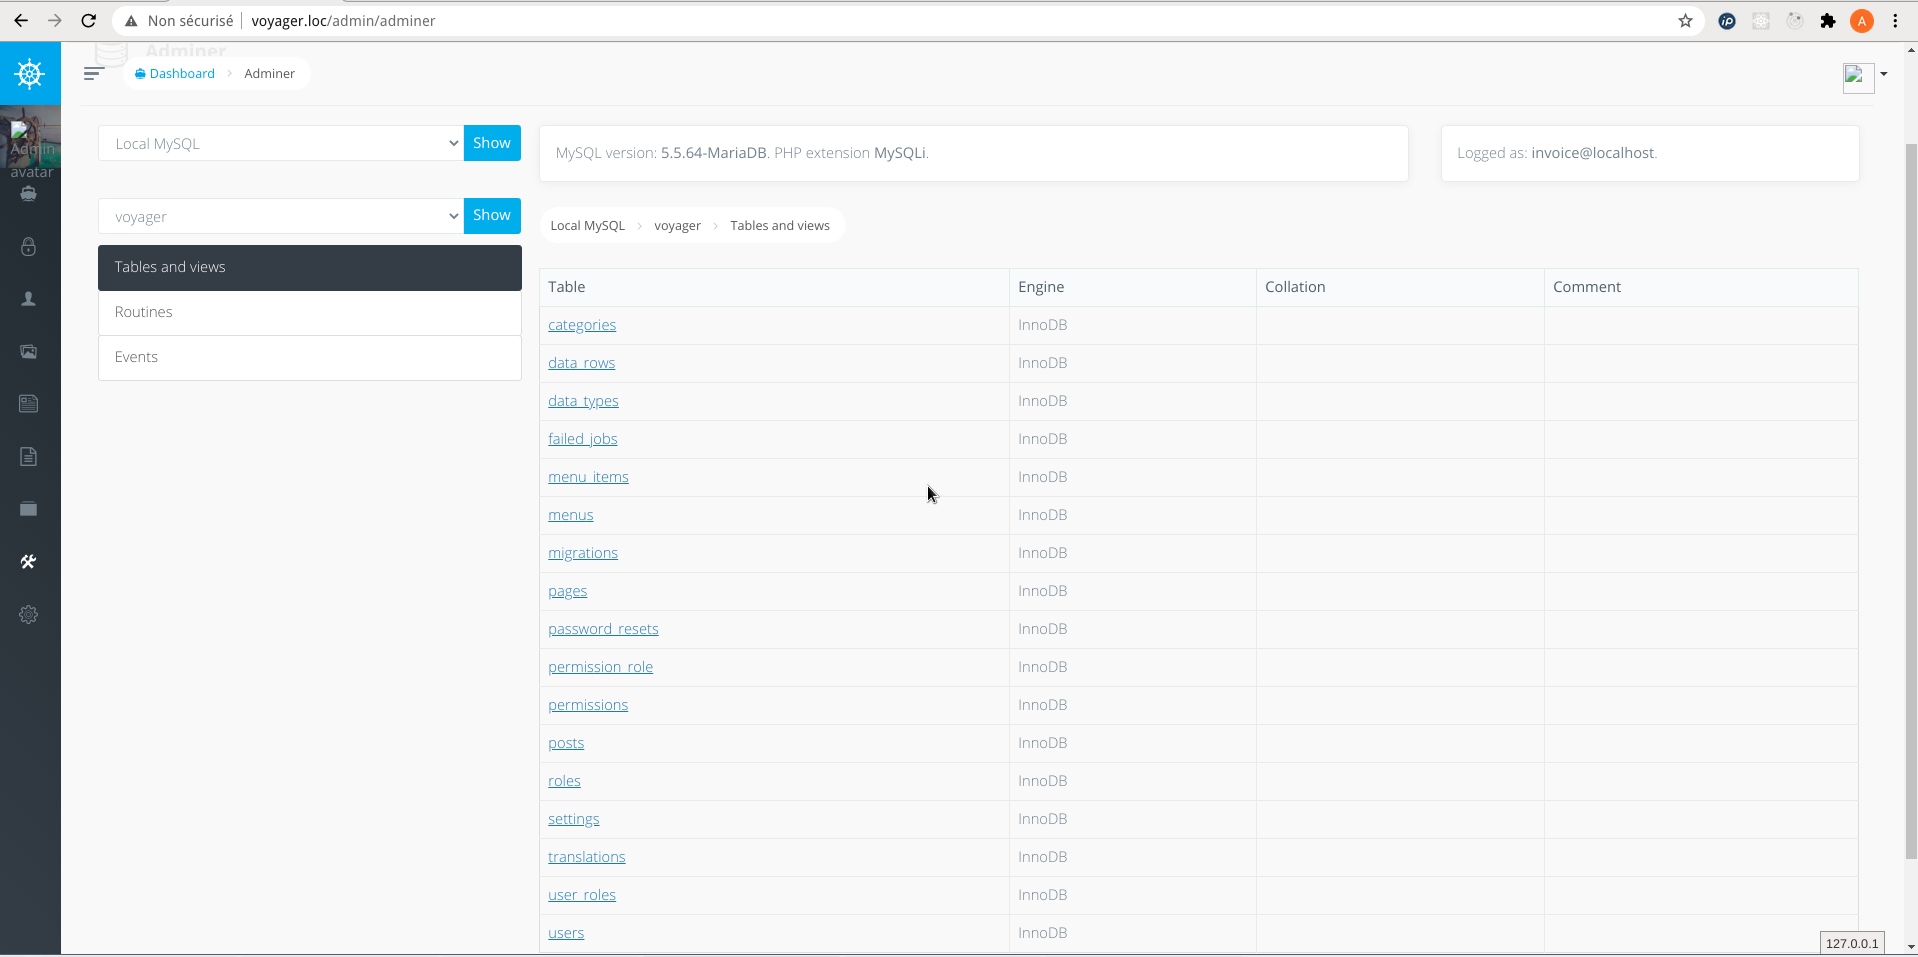
In this case, DbAdmin only manage the server on which the Voyager database is created.
The default option indicates a default server on which to connect when the DbAdmin page is loaded.
The installation of Jaxon DbAdmin on Voyager is now complete.
The above image shows how the page is displayed to the user.
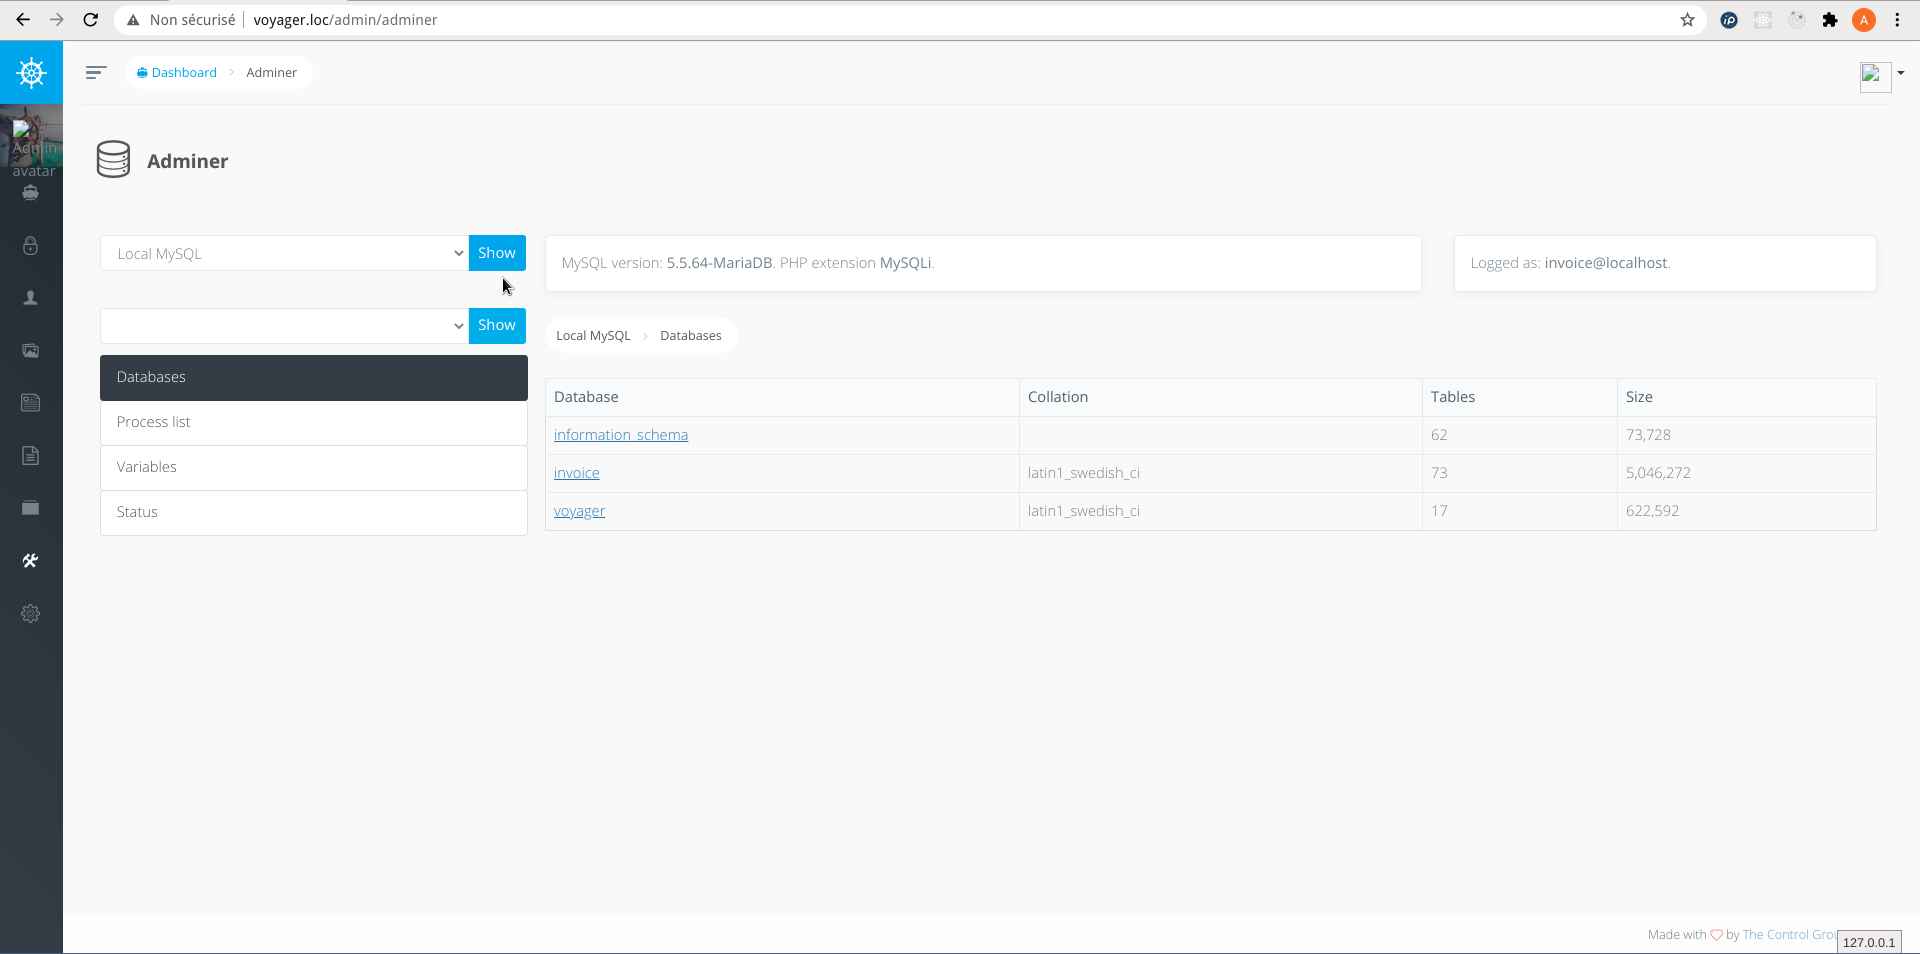
The user can for example browse the content of the Voyager database.